The Yoga Triangle Pose helps stretching and strengthening the muscles of the thighs, working the abdominal muscles and increasing the flexibility of the spine.
Regular practice of the triangle pose increases our strength, improves our balance and increases our overall flexibility.
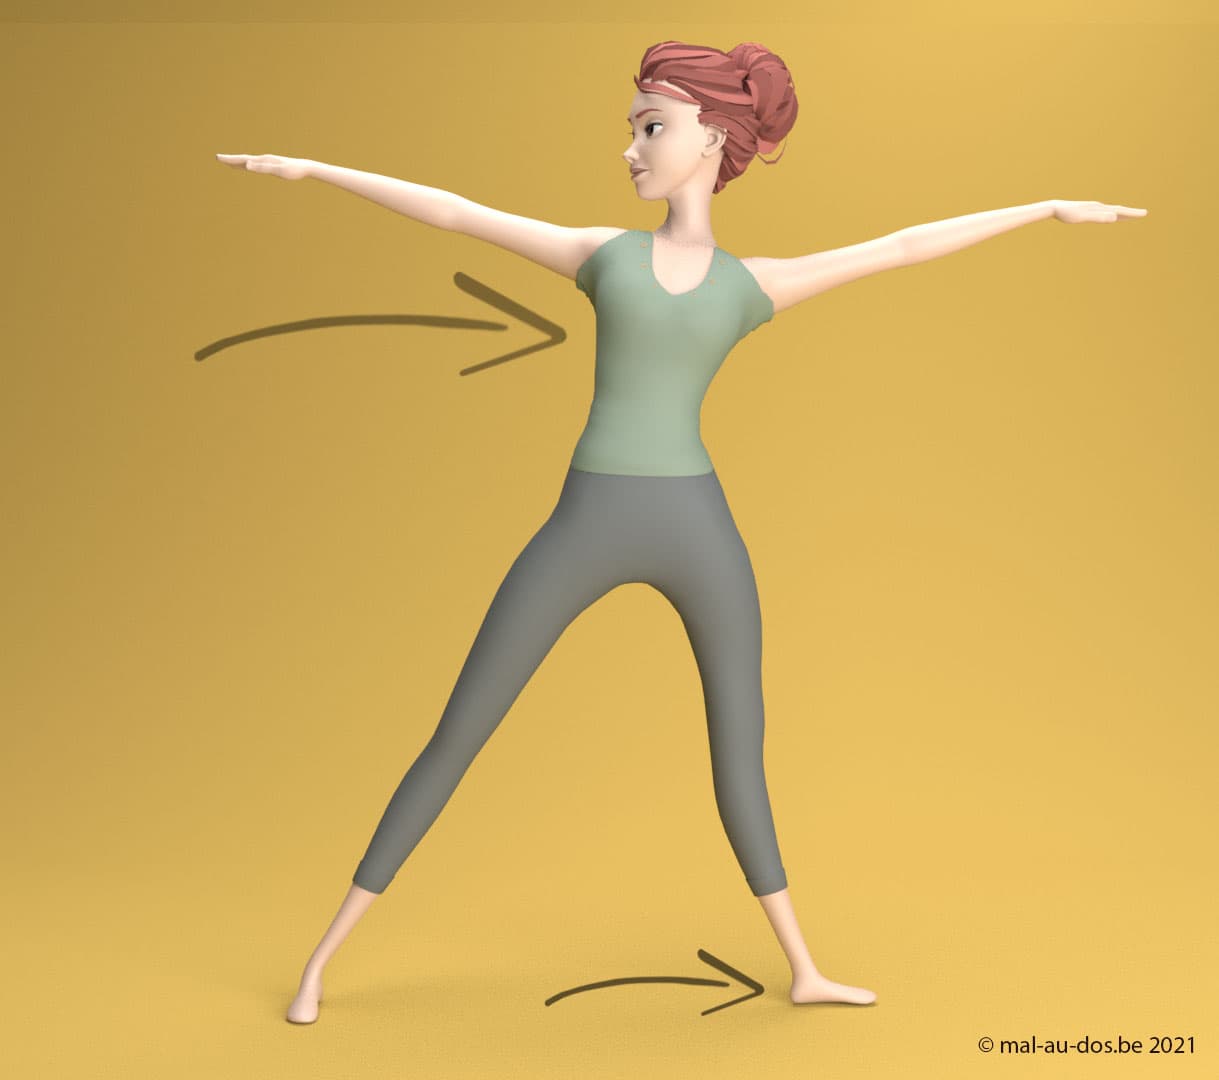
#1 – Triangle Pose
Start from the Mountain Pose, reach the arms to the sides and spread the legs: the feet should be in between the elbows and the wrists.


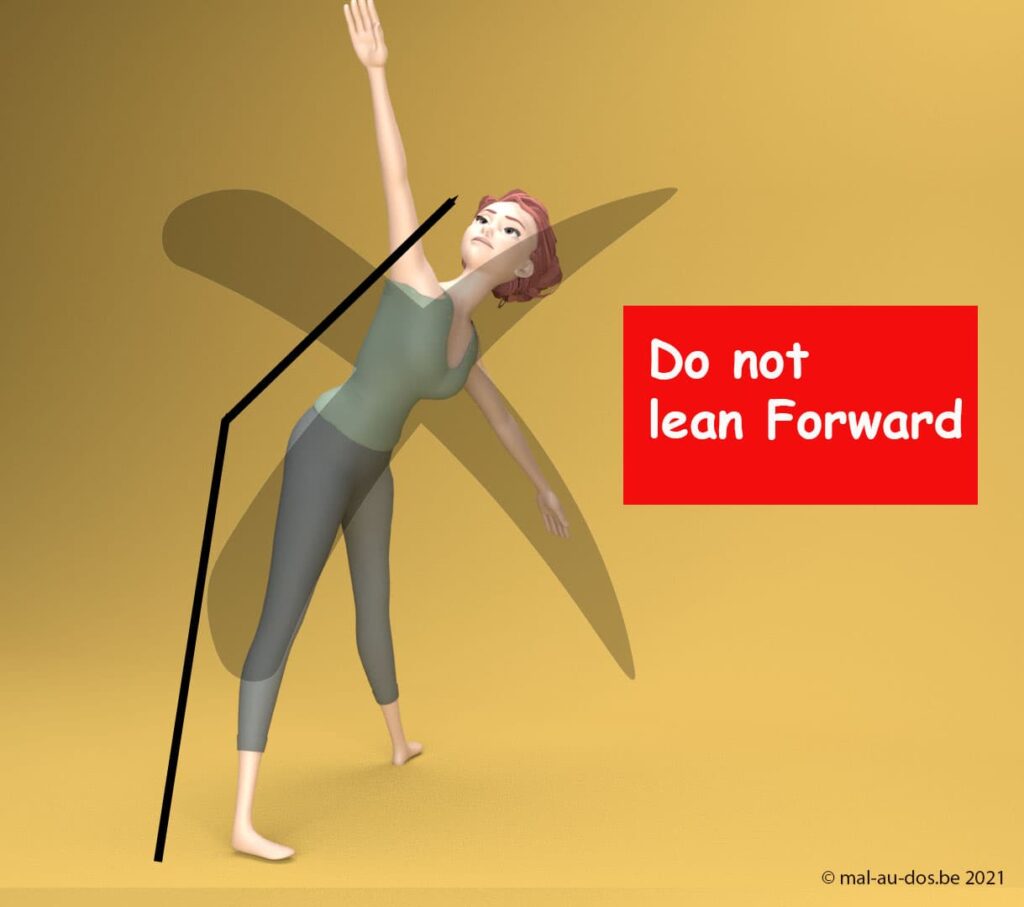
It is important to remain perfectly straight at each step of the exercise. The cervical spine must remain aligned with the spine and the spine must be perfectly vertical.
Similar to the signs in the trains of the past: it is forbidden to lean forward. 😜
Start gently..
The distance between the legs must be in relation to your flexibility so that you can practice the Triangle Pose in a relatively comfortable way.
The regular practice of the Triangle Pose will allow you to increase your flexibility, your mobility and this distance between the legs will increase gradually, as you pratice.
#2 -Rotate feet 90° to the left
Turn the left foot so that the toes point in the same direction as the fingers of the left hand.
Then move the pelvis slightly to the left and you should start to feel a stretch in the inner right thigh.
#3 – Tilt your upper body to the left
To start shaping the Triangle, tilt the upper body to the left, place the left hand on the left knee while keeping the arm outstretched, raise the right arm to the sky, and turn the head to the right, to look towards the right hand.
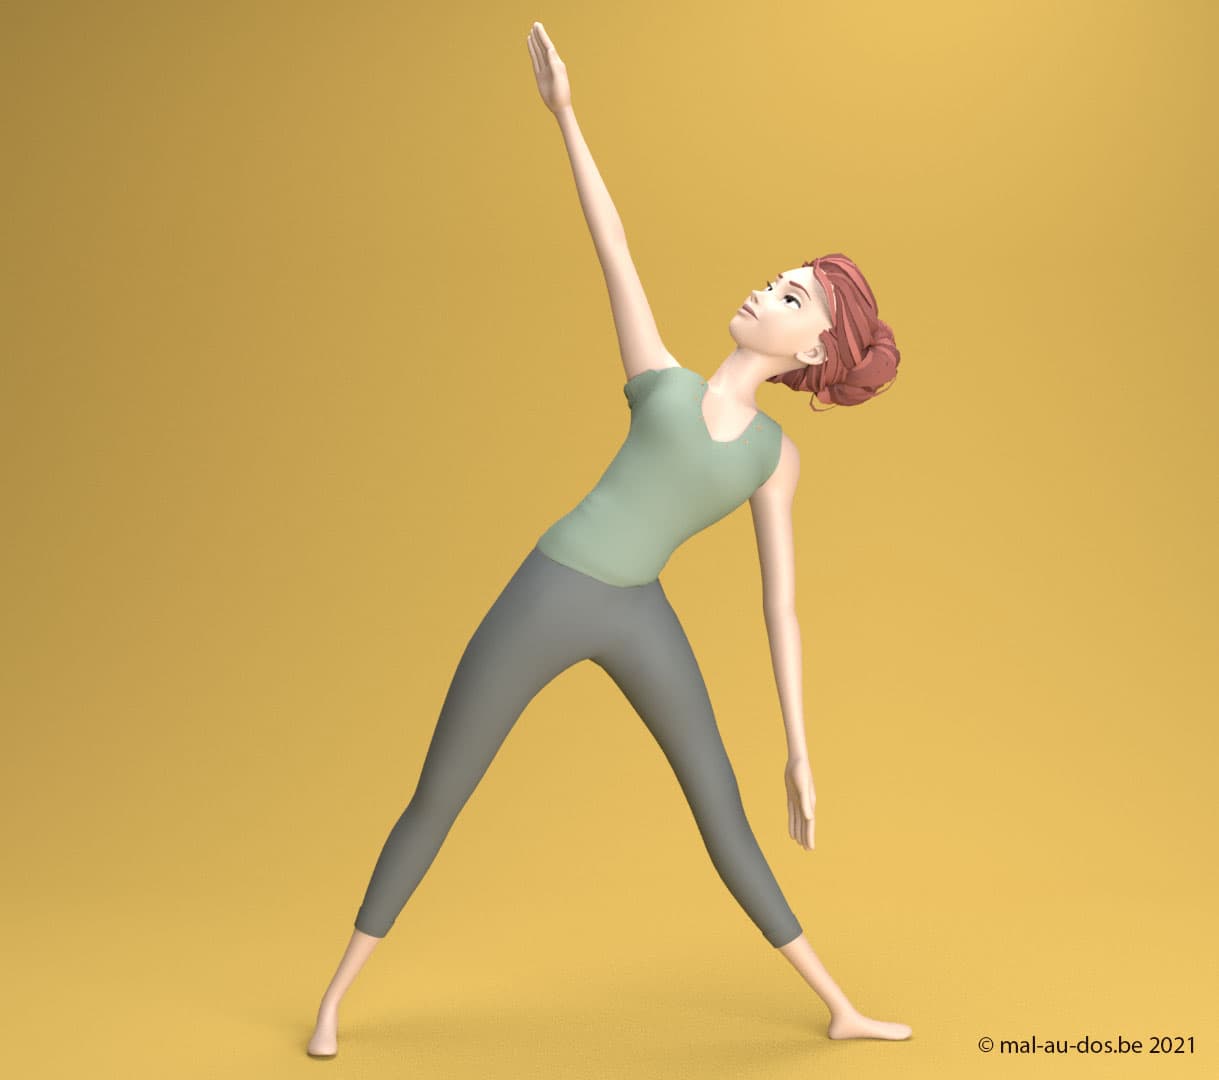
Ok, now we’re talking… 😜
Take a moment at this stage to appreciate the benefits:
- The stretch in the upper right thigh
- The stretch in the back of the neck
- The stretch in the left shoulder / scapula
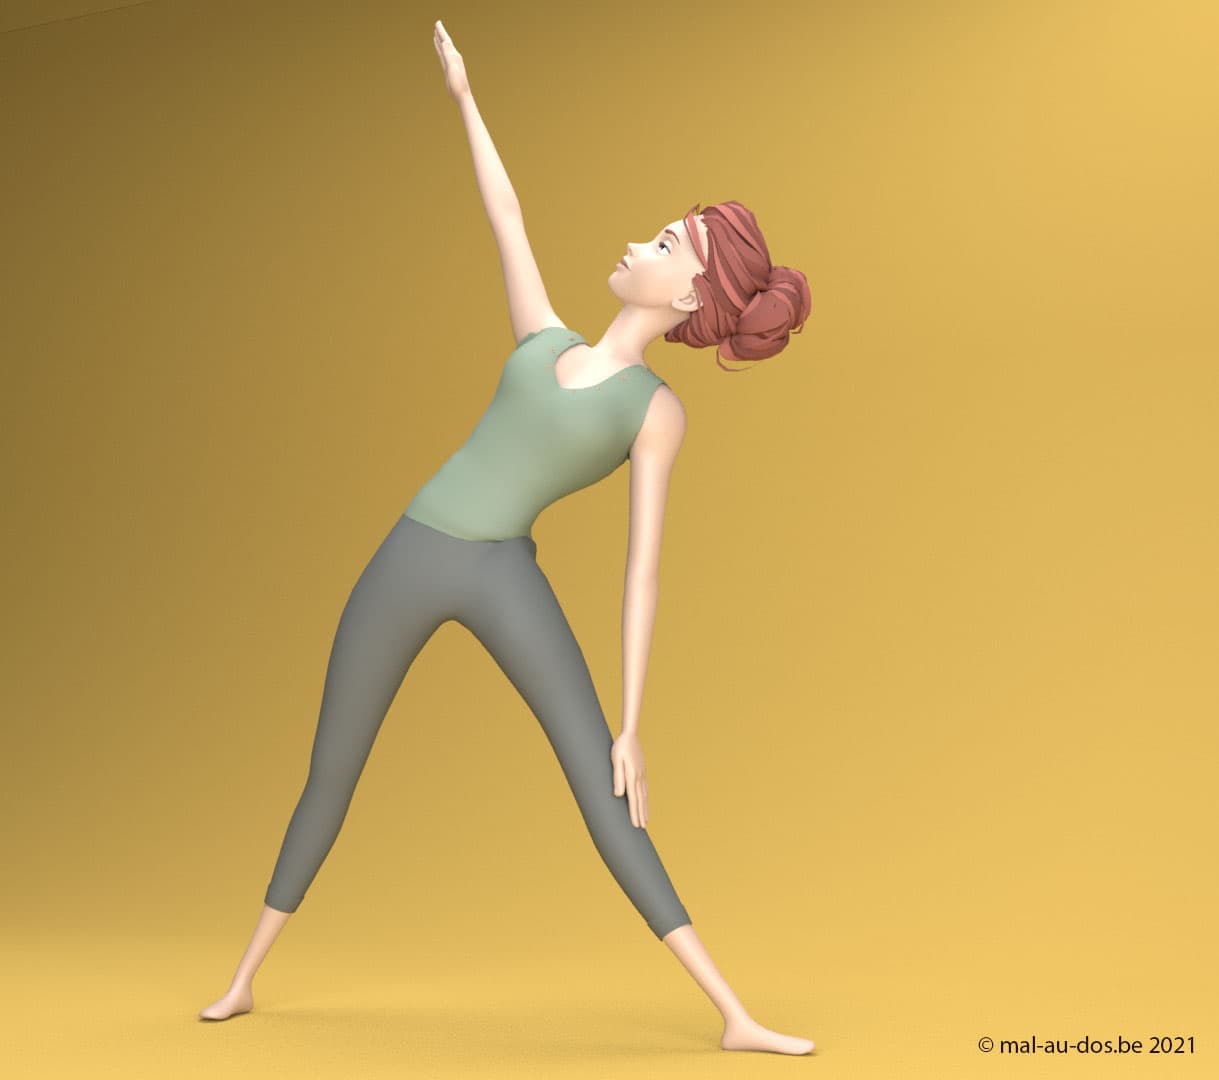
Yoga Triangle Pose & Balance
At this point you may start having troubles to keep your balance: this is exactly one of the problems that the Triangle Pose should help fix, by strengthening the muscles of the legs.
#4 – Shaping up the Triangle
To achieve the Triangle Pose, increase the leftward leaning of the upper body by raising the right arm fully upward: the right hand becomes the apex of the triangle.
The left hand is going to reach the left foot (depending on how flexible you are).
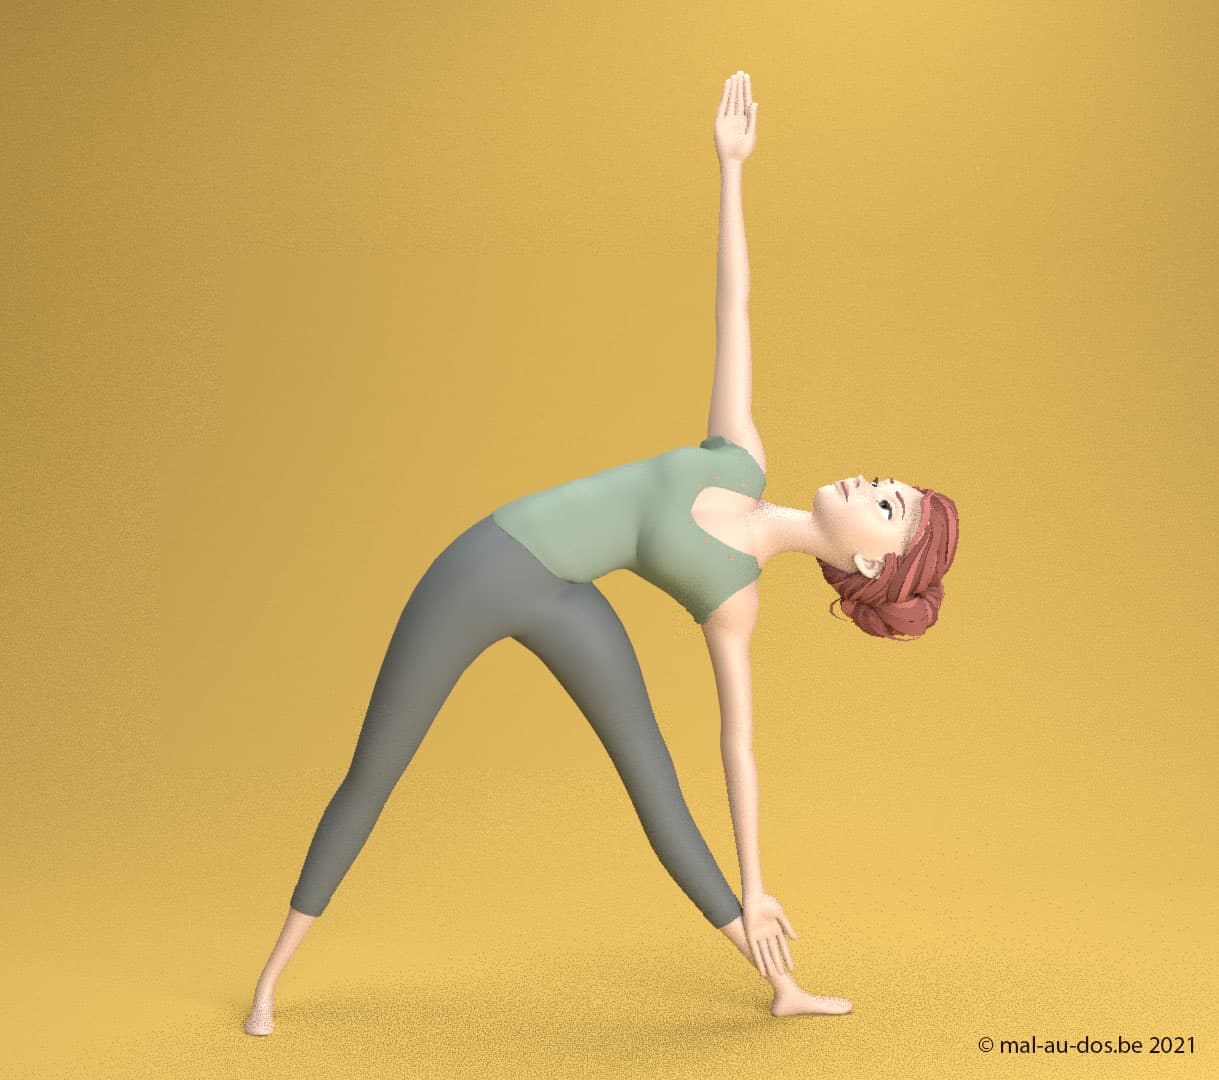
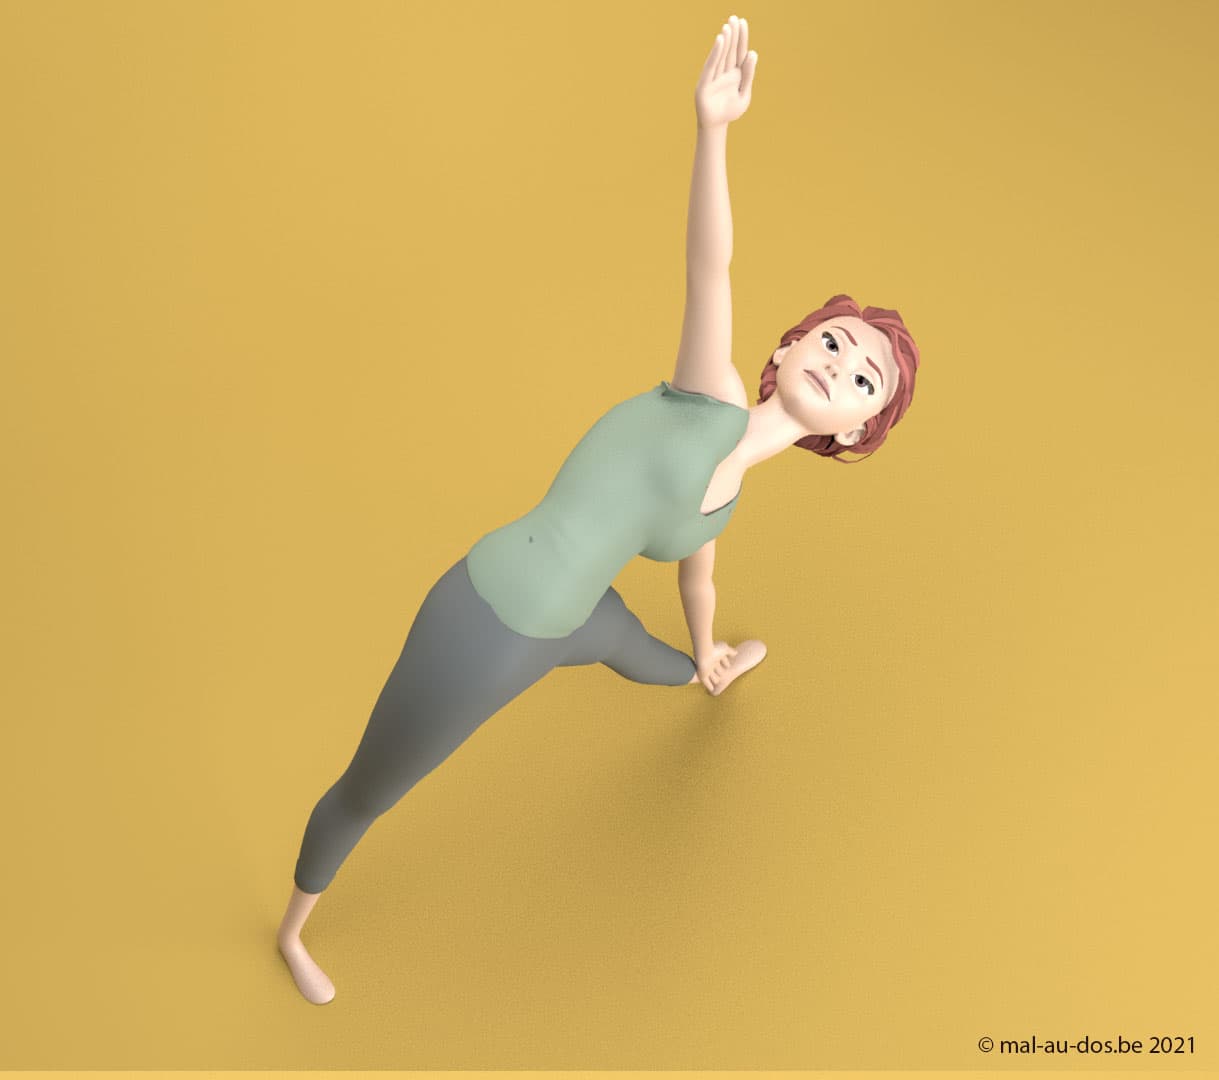
Keep the pose for about twenty seconds, breathing deeply, and focusing on the various areas being stretched.
Enjoy the stretches and feel free to experiment:
- Move your head to accommodate the neck stretch as you wish.
- Put your left hand on your left ankle, or on the ground: here again, it depends on your level of flexibility.
Yoga Triangle Pose: watch out for the common mistake
Remember what I said earlier in this article: the body must remain well aligned, straight: one might be tempted to bend forward to facilitate the practice of the Triangle Pose: don’t do that.
Stand against a wall
Train this posture by standing against a wall: by keeping contact with the wall at all times, you are guaranteed to practice the Triangle Pose with maximum efficiency.
Yoga Triangle Pose Benefits
Physical
- Stretching of the hamstrings, hips, knees and ankles
- Strengthening of abdominal muscles
- Stretching of the deep muscles of the back, shoulders and chest
- Improved hip joint activity
- Strengthening and toning of thigh muscles
Other benefits
- Reduces back and neck pain
- Relief of menopausal symptoms
- Contributes to the proper functioning of the digestive system and effective in cases of constipation
- Helps relieve stress and anxiety